Updated on 3/31/2024 with instructions for iOS 17.
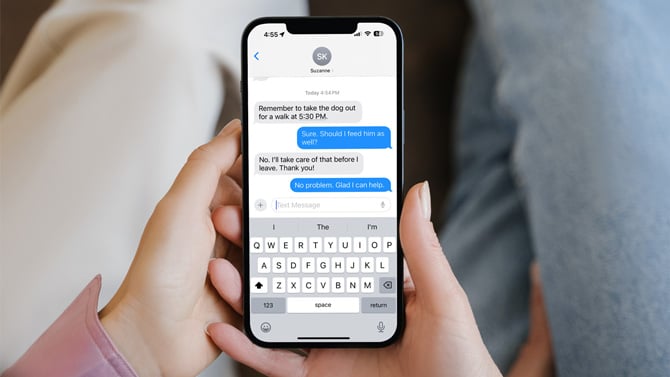
Back in the age before smartphones, if you had a cell phone, it was yours and yours alone. It didn’t need to be connected to an email account just to work, and if your kids used it, it was just to play simple games like Brick Breaker. A lot of us eventually upgraded to the iPhone, and as the kids came along, brought them into the iPhone/iPad fold by putting our Apple IDs onto their devices.

Of course, what was once the easiest solution for getting a new device up and running has now become a nightmare: you’re getting messages from your kids’ friends about Minecraft, and they’re getting messages about Mom’s wine club. Yikes.
Since 2014, when Continuity was introduced in iOS 8, Apple has let all of your Apple devices work in tandem and receive notifications simultaneously. It can be really annoying, but fortunately, it’s easy to stop the iMessage madness.
How to choose which accounts get which messages
Like the majority of problems you can encounter while using your iPhone or iPad, the solution lies in Settings. While text messages are associated solely with your phone number, Apple’s iMessage ties your phone number to any email address linked to your Apple ID; you can then send iMessages to anyone else who has an iOS device. If you’re getting messages meant to go to another device or person in your family, it might be because your Apple ID is tied to their devices. To see which accounts are associated with your Apple ID, go to Settings > Apple ID > Devices.
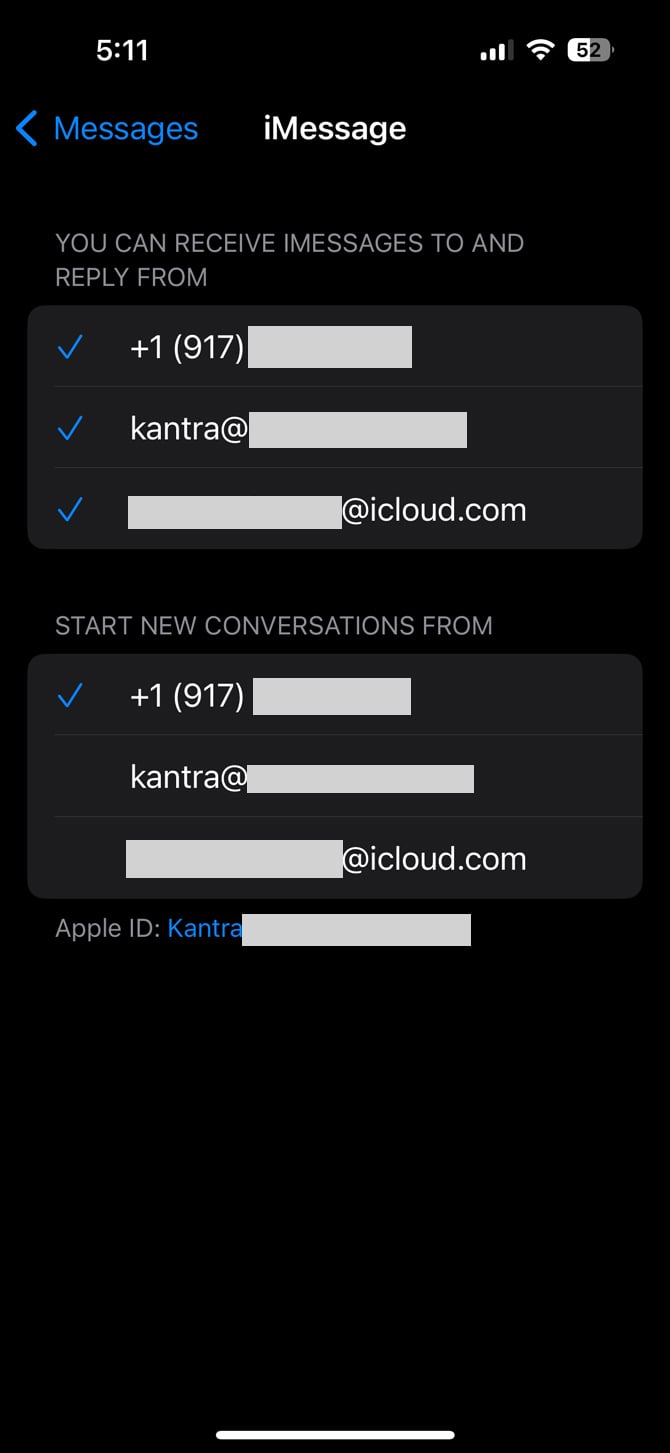
Then head to Settings > Messages > Send & Receive. You’ll see your primary phone number with a checkmark to its left. Usually, below the phone number, you’ll see email addresses that you’ve set up on your phone with checkmarks to their left, too. By tapping an email address, you can choose whether you'd like people with your email address in their contacts to be able to send you iMessages. In this same window, you can also decide which number or email address you want to start new iMessage conversations from. Simply tap on the account you prefer, and a checkmark will appear to its left.

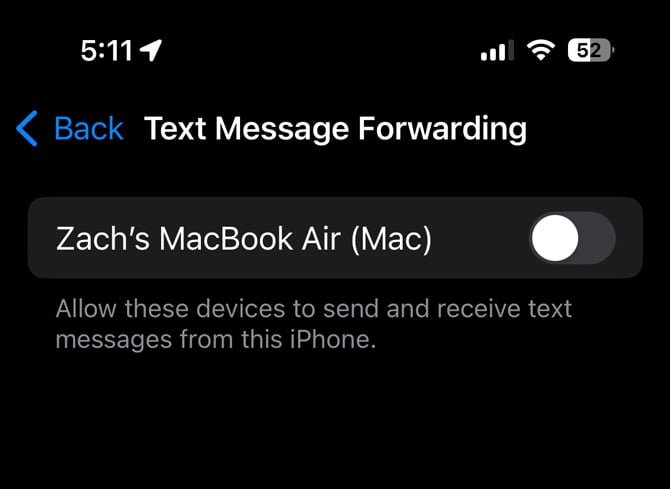
Continuity also made it so you can send and receive text messages on your iPads or Macs, as long as they are signed into the same iMessage account and connected to the internet. Go to Settings > Messages > Text Message Forwarding, then tap the toggle to add or remove them.

The process is similar if you want to stop receiving other people’s FaceTime or phone calls. Go to Settings > Phone > Calls on Other Devices. You can then choose which devices can receive phone calls when they are on the same WiFi network. You can also choose which accounts you can get FaceTime calls from by going to Settings > FaceTime, and then selecting the correct accounts as you did before.
Read more: Are Your Text Messages Safe from Hackers?
Prevent the Problem in the First Place
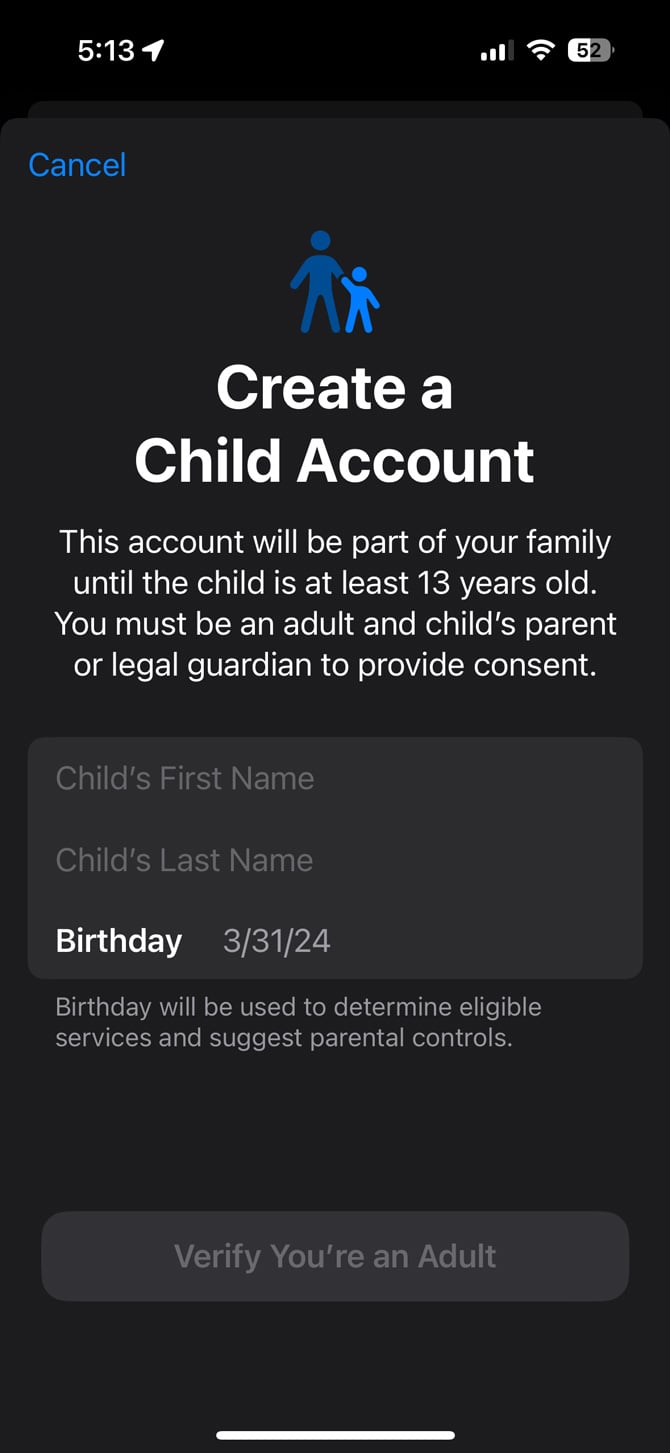
Although it’s tempting to skip setting up a new Apple ID for your child, for their eventual privacy (and your eventual sanity), create an email address and set up an Apple ID for them. While it may seem like you’re giving them free rein, Apple’s Family Sharing still lets you set up a child account for children under 18. If your child is under 13, you receive control over what they can and cannot do with their devices, including parental approval for all apps, songs, and videos they download from Apple's store.
If you want to be the Family Organizer (who pays for any purchases), go to Settings > Apple ID > Family Sharing. You’ll then follow the progressive steps, which will allow you to invite up to five other family members to your group, including adding a Child Account.

The great thing about Family Sharing is that anyone who’s in your group has access to any music, movies, books, or apps that have been purchased by anyone in your group (Don’t worry, you can also hide certain items and make it so people who want to purchase items have to get the go-ahead from you). Once you get to the last setup screen, select Add Family Member to send an invitation that will appear on each new member's device. They will accept the invitation, and you're good to go. If you want to add more family members later, you can do so at any time by going to Settings > Apple ID > Family Sharing > Add Family Member.
It's also worth noting that you can add child accounts for anyone under 18, not just under 13. This allows you to set age-appropriate restrictions and maintain parental control over how they use their device.
You can always set up Family Sharing, even if you had previously shared your Apple ID with someone else. While one person may have to manually add contacts, calendars, etc., from the old Apple ID to the new one, you will be glad to keep your messages all to yourself.
Read more: How to Share Your Amazon Prime Benefits with Someone Else for Free
[Image credit: Screenshots via Techlicious, iPhone in hands mockup via Canva]


From Carmar on January 28, 2017 :: 5:09 pm
Your comment about how the messages show up is not the correct information. iMessages are blue and not green. It is the regular phone text that is green.
Reply
From Suzanne Kantra on January 30, 2017 :: 3:05 pm
Thanks for pointing this out! I’ve corrected in the text above.
Reply