The first year of your baby’s life is filled with so many don’t-miss photos, as I can attest being a professional photographer, writer and relatively new father. So follow these tips for making the most of the memories and moments you'll want to remember and you'll have everything you need to make that baby's first year photo book.
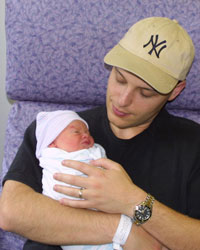 The big day
This one is specifically for the dads! Delivery rooms are tight, there’s a lot going on – keep it simple!
Pack a trusty camera that does a good job with interior lighting in auto mode, with a wide angle to normal zoom lens, and you should be OK. You may very well be exhausted by the time your child arrives, and certainly want to pay attention to your wife, so it is very possible that you will hand your camera to one of the nurses to take a few photos for you.
After a rest, and once the baby is brought into the maternity suite, you’ll have time to actually compose some frames.
If there’s daylight, open the shades in the suite. The extra light will help prevent blurry pictures, and is a lot more flattering that on-camera flash.
Shot list:
Mother and baby
Baby hand in parent hand
Dad and baby
Baby sleeping close-up
Baby sleeping from bird’s-eye view
Parents and baby
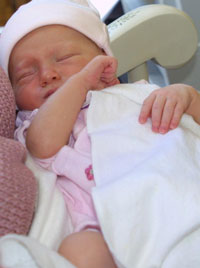 Coming home
Be sure to take at least a few photos on your first day home. You may look slightly less exhausted than you did in the hospital photos, and it’s a a great way to get into the habit of taking photos to remember your child’s journey.
Shot list:
On the front porch or in front of the house (weather permitting)
In the nursery room
In her crib for the first time
On the couch with Mom, Dad, sisters, brothers and pets
Week one
The first week will fly by – you won’t believe it has been seven days since you had a baby. The one-week mark is a nice milestone opportunity for more pictures: you will not believe how much different your one-week-old is from your newborn.
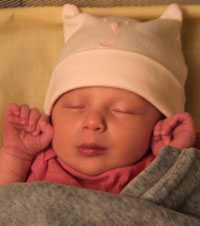 Shot list:
Sleeping
Eyes open
Active
In the crib
From a birds-eye view
Cheek-to-cheek with Mom or Dad
Close-up of little hands and feet
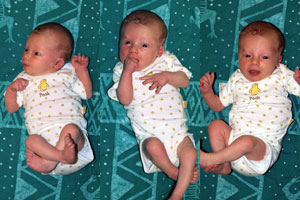 Tummy time
After a few weeks, baby will be able to hold her head up for short periods of time during tummy time, which is a great milestone in both your baby’s development and in your photo album!
Set your baby up in tummy time on the middle of a bed, and shoot with a zoom lens from a distance – this will help blur any distracting background. And if your camera has a burst shooting mode, where it rapidly takes a series of photos when you press the shutter button, try using it here. It’s a great way to capture the baby’s rapidly changing expressions.
Shot list:
Capture a number of frames in this position to see the different nuanced facial expressions your baby is making.
Supported sitting
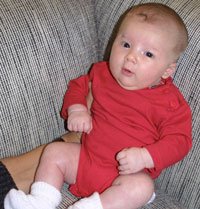 Once your baby is a few months old, he’ll be able to prop himself up in a Bumbo-type seat, on your lap, on a few pillows and in the corner of a couch for short spells. Be sure to have an assistant nearby in case your wee one starts to topple.
Shot list:
Smiles
Eyes
Varied expressions
Full body shots showing off little feet and cute outfits.
Messy first food
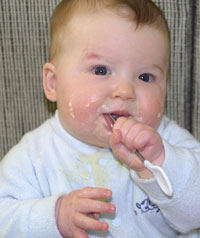 Once you get the go-ahead from your pediatrician to introduce your wee one to baby mush, plan ahead for this milestone, as it will make for a messy, memorable experience. This is absolutely a two-adult photo shoot, so Mom and Dad should decide who’s feeding and who’s taking pictures.
This is one of the few photo ops where an on-camera flash pointed straight at the baby can make for a stronger picture, since it will emphasize the messy baby food.
Shot list:
Tight shot of face covered in baby food
Wider shots with messy bib & hands
Profile shot of baby & parent offering food
Sitting
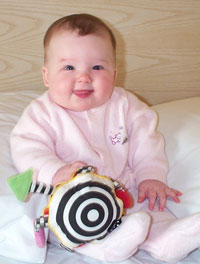 Once your babe can sit by herself, you’ll want to capture her new perspective on the world. Put yourself in “tummy time” position to capture some shots of your little one on the floor amidst her favorite toys. Shooting on the floor, from a baby’s level is a great way to see and share your world in a new way.
Consider setting up a white sheet as a seamless backdrop off the back edge of a sofa for a quick “studio style” shoot.
Shot list:
Wide shot of your little one with favorite toys, stuffed animals, and books.
Closeups interacting with objects she picks up.
Standing up against crib
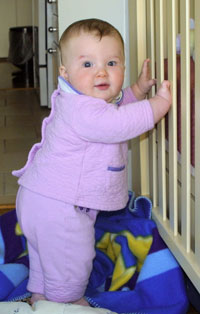 You won’t believe how quickly you’ll move from birds-eye views of your newborn in the crib to a shot of your little one standing and peering over the edge of his crib and Pack ‘n’ Play. Be sure to mark this moment with some in-the-nursery shots.
Take advantage of the low height of the Pack n Play to shoot some straight-down shots with a wide-angle lens as your baby will surely look straight up at the camera, and this is a fun forced-perspective shot to share. In the main crib in the nursery, back up a little bit to get your baby standing up straight-on, with his feet planted between the bars of the crib.
Shot list:
Straight down from above in the Pack ‘n’ Play
Straight-on in the nursery
Crawling
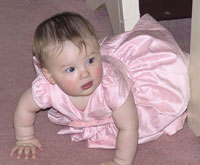 Here’s another shooting opportunity where you’ll want to be in “tummy time” position yourself to get the best angle of the action. Keep shooting and keep reviewing your shots till you’ve got a sharp photo with good action, implied motion, and pleasing expression. Don’t get discouraged if you don’t nail it the first day – your baby will give you more than enough chances to get a winner.
If the controls are available, set your camera to continuous autofocus or sports mode – a crawling baby can move very fast!
Shot list:
Overhead view of scooting baby
Head-on shot of approaching baby with photographer lying on the floor
Rear view of crawling baby approaching the other parent
Halloween and Autumn
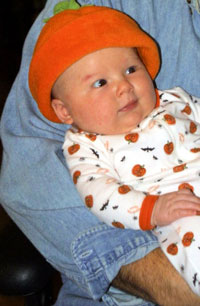 Outdoor autumn shots can be made at any time of day, but early morning and late afternoons are best for warm, dramatic directional lighting. We made some great autumn shots of our then six-month old sitting amidst the gourds in a ground-level pumpkin display at a local farm market one crisp fall afternoon. Weekdays are much better for trying this than weekends, as the markets will be much less crowded.
Halloween shots are a particular type of fall shot, and the best time for Halloween shots is twilight. There’s a short window of time late in the day when the sky, jack-o-lanterns, and lighted displays will all be nearly equal in exposure. This is the best time to make photos of your kids in costume in front of the house. You’ll want direct flash, but dial it back a little bit if your camera offers this control to make the direct light appear less artificial.
Use a tripod for the twilight Halloween shots to avoid camera shakes. Alternately, set a long shutter speed (½ second or more) and don’t even try to hold the camera steady as you take your shots with flash – all the background lights and displays will go all ghosty on you.
Shot list:
Baby surrounded by autumn icons
Interacting with seasonal props (masks, pumpkins, etc.)
Group shots with appropriate Halloween/Thanksgiving themes
Winter Holidays
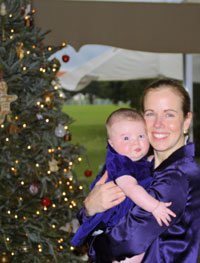 December is the time of Christmas trees, menorahs, and more holiday lights than you can imagine everywhere you turn. These lights can be wonderful design elements to convey the sense of season, but they can also trip up your exposure if you aren’t careful. As with Halloween, twilight is best for outdoor displays, and a tripod is a fantastic way to keep the camera from shaking during longer exposures.
Indoors, try out different camera settings to balance the exposure on your baby’s face and the background lights. We used a stuffed animal as a sit-in for our baby while experimenting, which proved much less stressful for all concerned.
Shot list:
Baby with holiday lights
Presents!
Different groups of family members with baby, surrounded by holiday decorations

