Updated 1/20/2023 with new recommendations for SSD drives and cables based on current models, pricing, and reviews, as well as updated drive cloning instructions
There are many ways to make a slow laptop faster, but few are as easy and cost-effective as replacing your existing hard drive with a solid state drive (SSD). Making the swap will, in most cases, dramatically reduce the time it takes to boot Windows, load programs, and perform any activity that involves significant amounts of disk access (video editing, gaming, transferring files, etc.). When I swapped out my hard drive for an SSD, my Windows boot time dropped from a very-painful almost 10 minutes to well under a minute. And programs like Adobe Photoshop that could take a minute or more to open now open in seconds. Your old computer won’t just be as good as new; it will be better than it ever was.
With an SSD, you’ll also get the added advantage of greater ruggedness (SSDs are much less susceptible to damage from drops than hard drives because they have no moving parts), better battery life, and quieter operation.
Despite the advantages of SSDs, in the past, upgrading wasn’t an attractive option for many people because of the high cost. But with 1TB SSDs now available for well under $100, it’s almost silly not to make the switch. And you don’t need advanced technical skills to do it. As long as you’re comfortable using a screwdriver and running a simple cloning program (which literally makes a clone of your existing drive, so your operating system, your programs and settings, and all your files will be exactly the same and ready to go on your new drive), this is a task anyone should be able to handle.
Here are the simple steps to swap out your hard drive for an SSD.
1. Buy an SSD drive
What size SSD to buy
When looking to buy an SSD, the first thing you should determine is what size drive you need. You should choose one that is at least as large as your current hard drive. If your current drive is getting low on space, consider stepping up to something larger. I suggest not going smaller than 500GB and, ideally, going with 1TB, which should provide ample storage for most people.
What type of SSD to buy
Assuming your laptop currently has a standard hard drive, it is almost certainly a 2.5 Inch SATA drive. So, you will be replacing it with an SSD of the same size and interface (internal connections). You may see people refer to other things – NAND technology, SATA III, etc. – don’t worry about that stuff, 2.5-inch SATA is all you need to know.
What brand/model to buy
There are hundreds of SSD models from dozens of brands on the market, but since the drive will hold all your computer’s critical information, this is not the time to go with the cheapest model. I would also avoid the ultimate performance models intended for large server applications and 3D graphics professionals – they cost significantly more money and will offer no performance benefit for typical users.
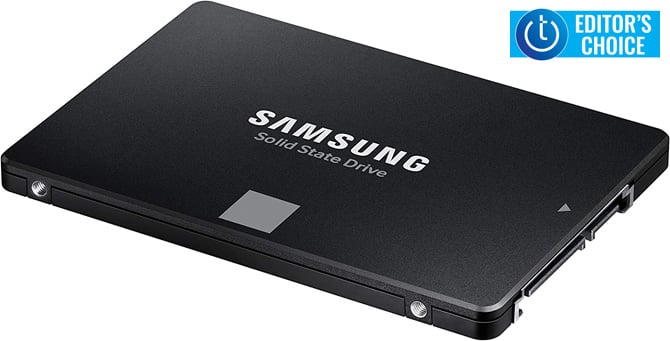
My top recommendation is the Samsung 870 EVO, which is an upgrade to the 860 EVO I have installed in my own laptop (and costs $40 less than I paid a few years ago). It is consistently rated at or near the top in performance tests versus competitive models and offers a leading 5-year or 600 TBW (for 1TB model) warranty. TBW (terabytes written) is a good indication of the drive’s robustness – the more, the better. Under normal usage, you would never come close to hitting that TBW limit (600 TBW is equivalent to about 200 million photos). Samsung also comes with Samsung Data Migration software, an easy-to-use program for cloning your existing drive onto the SSD. As of the time of writing, you can get the 1TB for $89.99 on Samsung.com or Amazon.
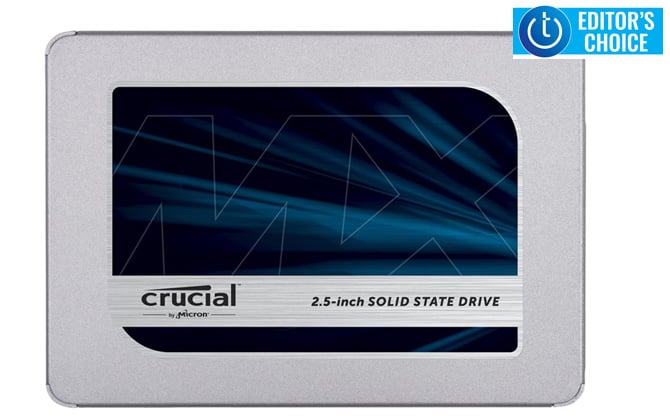
If you want to save a little money, the Crucial MX500 is arguably every bit as good as the Samsung 870 EVO. Data transfer speeds will be the same, and Crucial offers its own Acronis True Image software for easy drive cloning. The Crucial MX500 also comes with a 5-year warranty, though its 360 TBW limit for the 1TB model is lower than the limit for the Samsung 870 EVO, meaning it may be slightly less robust (realistically, that’s still far, far above what most people would ever hit). The MX500 also happens to be the same budget pick I recommended three years ago. But don't let that deter you. Not much has changed in the world of 2.5-inch SATA SSD drives, and this tried-and-true model remains just as highly rated. As of the time of writing, you can get the 1TB for $65.99 on Crucial.com or for a few bucks less on Amazon.
2. Buy a SATA to USB data transfer cable
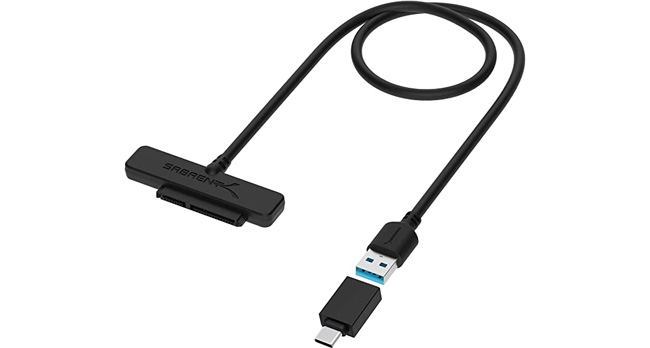
The data transfer cable is what you will use to clone your existing hard drive onto your new SSD using your laptop’s USB port. All the cables are pretty much the same, and you can pick one up for around $10-$15 on Amazon. The Sabrent USB 3.1 to SATA adapter will deliver significantly faster transfer speeds than USB 3.0 cables and offer the flexibility of working with both USB-A and USB-C ports. Actual users have been very satisfied with it, giving it 4.7 stars on Amazon across a whopping 47k reviews.
This is also a good time to check to make sure that you have a screwdriver that will fit the screws on your laptop (a small Phillips head will work on most computers, though some manufacturers use non-standard screws). If not, pick up a basic computer screwdriver set, too. This screwdriver set has tons of heads (including the non-standard ones) and a tool to help you open your laptop case if needed. It's the one I use for my computer repairs (and a thousand other little things around the house).
3. Clone your hard drive
If you’re worried about the effort to transfer Windows to your new drive, reinstall all your programs, and transfer all your files, don’t be. The cloning program that comes with your SSD – Samsung Data Migration, Acronis True Image – will make an exact replica of your current hard drive on your new SSD, so there’s no need to reinstall anything. If you purchase a drive that doesn’t include the software, there are many free disk cloning programs you can download yourself.
To get going with Samsung Magician:
- Install the cloning software on your laptop
- Plug your SATA to USB data transfer cable into your laptop (ideally into a USB 3.1 port, for the best transfer speeds. USB 3.1 ports will have the blue tab on the inside)
- Plug your brand-spanking new SSD into the SATA cable
- Follow the instructions in your drive cloning application to clone your existing hard disk
If you're using Acronis:
- Swap your existing laptop drive with your new one
- Boot using Acronis media (e.g., from a flash drive) - this may require you to set your laptop to boot from external media in your BIOS settings
- Follow the steps to clone your drive
- Detailed steps for using Acronis can be found on the Acronis site
The cloning process will take a while to transfer your data onto your new drive. Don’t use your computer while the cloning process is happening because any changes you make to settings or files may not be cloned to the new drive. This is an excellent time to go out for dinner, binge-watch Netflix, or get in a good night’s sleep.
4. Install the SSD drive
Once your cloning is complete, you can now get that new drive swapped into your laptop (if using Acronis, you will do these steps prior to cloning).
- Unplug the SATA to USB cable and SSD from your laptop
- Unplug your laptop power and remove the battery (if removable)
- Open the laptop case by removing the screws. If you’re lucky, your laptop will have a handy little door with a couple of screws that give you direct access to the hard drive bay. But if you have a more recent “unibody design” model, you’ll have anywhere from 10-20 screws to take out (have a little cup ready to store them in). Then open the bottom part of the case to get access to your drive. You may need to use your fingernails, a flat-tip screwdriver, or the handy tool that came with the screwdriver kit I recommended above to CAREFULLY pry it open. If you are unsure how to do this with your laptop, googling your laptop model and “open case” or “replace hard drive” will usually turn up plenty of YouTube videos for guidance.
- Once your case is open, unscrew the mounting bracket holding your existing hard drive and remove your drive. It should come out pretty easily. Now put your new SSD into the mounting bracket, slide it into the connectors on your laptop and screw the mounting bracket back into your laptop.
- Replace you case by snapping it back into place (putting it back on is usually easier than removing it).
- DO NOT SCREW THE CASE TOGETHER YET - we want to check and make sure everything is working first. Turn on your computer (it should boot really fast now!) and verify that everything – programs, files – looks just like it did before. Assuming all is fine, turn the computer off and get those screws back in.
5. Install your manufacturer’s drive management software
Most manufacturers have a drive management program, like Samsung Magician, that will keep your drive firmware up to date and allow you to customize the performance and other settings. It’s worth installing for the firmware updates but leave the other settings alone unless you really know what you’re doing. Your SSD will be plenty fast out of the box, and most performance tweaking will have limited benefit in normal use.
That’s it! You can now enjoy the huge performance boost from your new SSD. And while your SSD should be more reliable than your old hard drive, if you occasionally clone your new SSD to your old hard drive using the USB to SATA cable, you’ll be able to use it as a fully-functional replacement, should you ever need it.
[Image credit: Samsung, Crucial, Sabrent,laptop upgrade via BigStockPhoto]
Josh Kirschner is the co-founder of Techlicious and has been covering consumer tech for more than a decade. Josh started his first company while still in college, a consumer electronics retailer focused on students. His writing has been featured in Today.com, NBC News, and Time.






From Diana Hammond on October 18, 2019 :: 1:35 pm
If I want to do this to my desktop since I don’t own a laptop, how different would the process be?
Reply
From George Mells on October 19, 2019 :: 2:06 am
To Diana: Assuming your desktop has SIDE ports it will be very similar but you might not need the USB adapter. There should be a second SIDE port and power connector for a second drive. You would connect the new drive to port 2, perform the drive copy, and then change the port connectors around to make the SSD the primary drive. If all is good you could then erase the old drive and use it for additional storage.
Reply
From Josh Kirschner on October 20, 2019 :: 10:55 am
Follow George’s advice for desktop installation. You will see the same level of performance gain on a desktop as you would on a laptop. Though if your desktop has a larger 3.5 inch drive bay, you may need an adapter to fit a 2.5 inch SSD. You can get one like this on Amazon for about $7: https://amzn.to/2oXfk77.
Reply